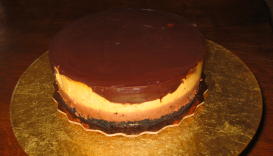
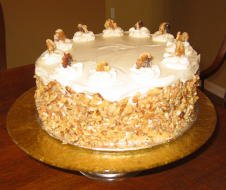
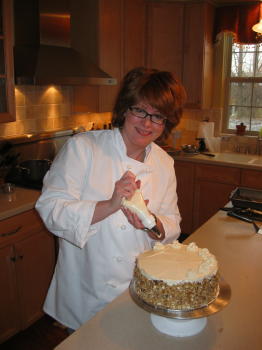
I spent approximately 11 hours this weekend making 3 cakes for a woman who was having a dessert and coffee party today. She ordered a German Chocolate cake, a Carrot Cake and a cheesecake - Double-chocolate Pumpkin. Here's the low-down on the experience and a few pictures.
First, I started out making the Inside-out German Chocolate Cake on Friday night. I wrapped them and stored them in our brand spakin' new refrigerator in the basement (
 have I mentioned how much I love having this extra cool space?) until Sunday morning. This morning I got up and made the dulce de leche (bake sweetened condensed milk in a water bath for 90 minutes!) then mixed it with the toasted coconut and chopped pecans. This is then spread while still warm between the 3 layers of the chocolate cake. Then, it is coated with chocolate ganache. I'm still working on being able to smooth ganache to a flawless coating. I have a long way to go. The leaves on top of this picture are made by painting melted chocolate on leaves. I have used real leaves from trees in the past, but since they are now a tad crispy or nonexistent, I opted for silk leaves, which I found in the craft store. Actually these leaves are meant to be holly. (And yes, I wash all of the leaves I use first! ) Once you paint them you put them in the 'fridge to harden up. Then you gently peel them off the hardened chocolate, and if you're lucky and your hands aren't too warm you get these beautiful chocolate leaf facsimilies! It amazes people when I do this!
On to Saturday. After a bout of holiday shopping at the mall I settled down to make the Double Chocolate Pumpkin Cheesecake. This beauty has 3 types of chocolate -
 milk, semisweet and a bittersweet ganache on top. Then obviously there's a layer of pumpkin in there too. The method is simple but it's a very messy recipe because you need to melt 3 different kinds of chocolate, mix 4 different layers, etc. Then - the thing that always makes me cringe - it bakes in a water bath. Now I have an amazing springform pan - professional grade and all. Cost me $38. But it is by no means leakproof. (Not sure there is such a thing as a leakproof springform pan.) So I cover the bottom in heavy-duty aluminum foil and pray that I do not fill the bain marie past the lowest part of the aluminum foil shell. It got a bit tense this time but I think it came out ok. I'll have to query my customer.
Lastly, Saturday night I made the layers for the Carrot Cake with Maple
 Cream Cheese Icing. Truth be told, I hadn't made one of these in a looooong time. I took a recipe I found online and augmented it a bit. To the carrot cake base I added some crushed pineapple, a bit of ginger and about 1/4 cup of golden raisins....wait for it.....soaked in brandy! Yeeeewww!!! When they came out of the pan they looked beautiful! I frosted it this morning. The maple cream cheese frosting I used was a tad runny - so that concerns me. I let it sit in the freezer for about 15 minutes before transporting it across town to my customer's home. It looked ok when I dropped it off!
So there you have it, my pretties. I felt kinda professional. I even printed up an invoice. Boxed everything up nicely with ribbons tied around each box. Taped my business card to the top. Like I have a real professional operation here! And then, there it was! A check!! Weeeeeeeeeeeeee!!
It was hard work, and I still have a lot to learn......but I'm getting somewhere!

1 comment:
I just read a great tip for a leak proof cheesecake water bath. Another person commented on another blog that she uses the chicken and turkey plastic baking bags (available at grocery stores). She uses the turkey sized bag for a 12 inch springform pan and the chicken sized bag for the 9 or 10 inch springform pan. She said to open up the bag, put the springform pan in the bottom of the pan before placing in in the water bath and roll the ends of the bag down to the edge of the pan. She said this has proved foolproof (just don't accidentally burn the bag on a stove element beforehand). Anyway, I hope that works. It sounded like a good tip to me and I can't wait to try it. I hope it helps to end the "cringes" you get from the thought of the tinfoil lining leaking.
Post a Comment